Active Cooling Solax X3 Hybrid G4 24V DC


- Complete specifications
- Download
- Related products3
- Active Cooling Solax X3 Hybrid G4 24V DCIn Stock100 €/ pc
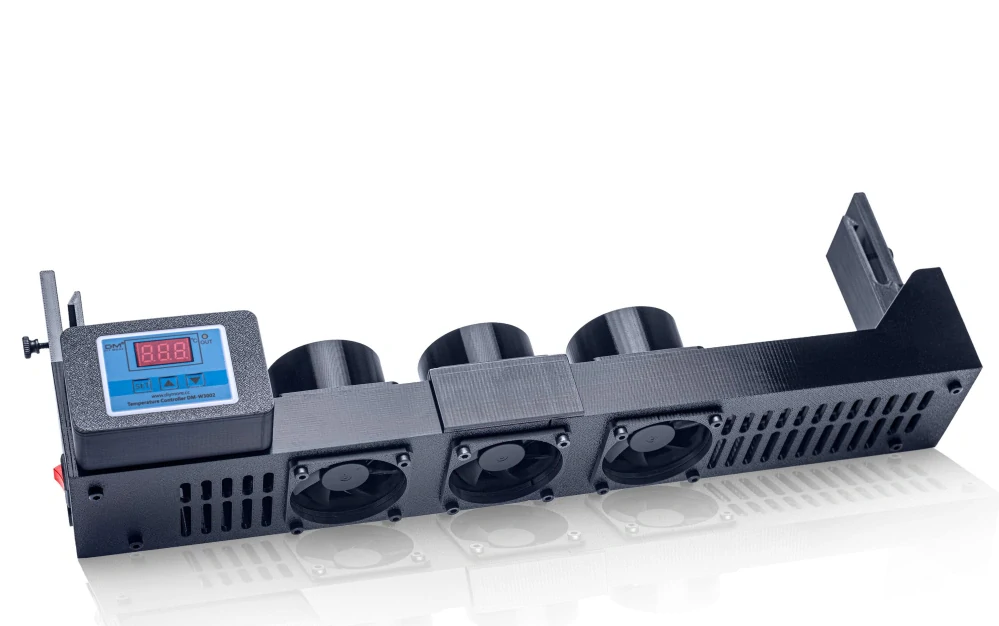
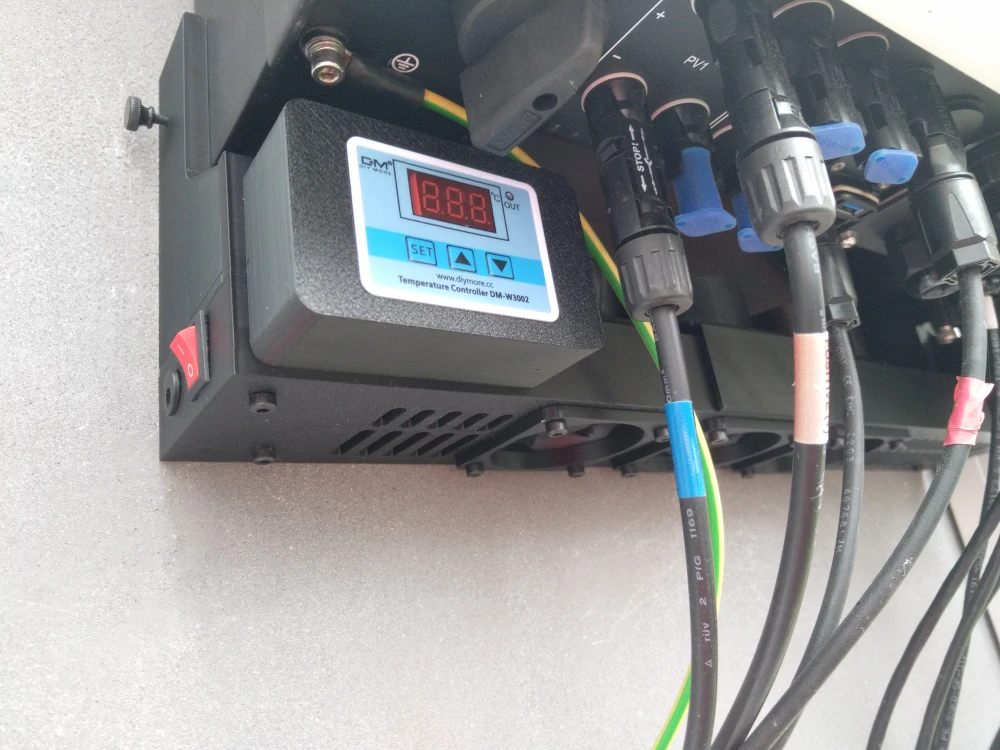
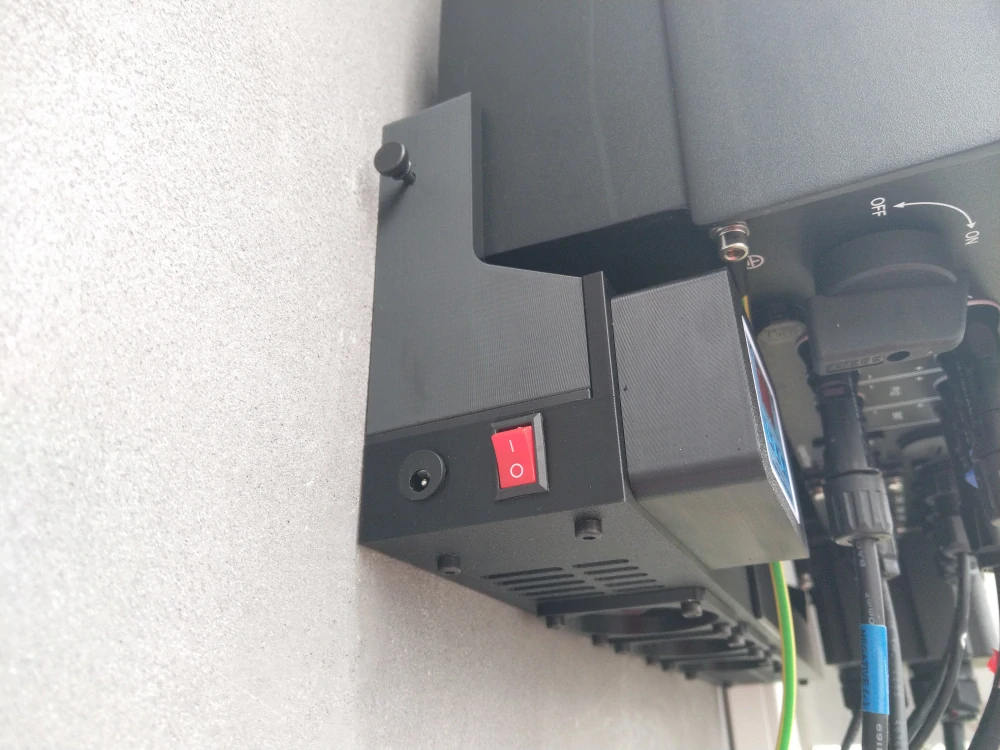
Basic cooling variant for photovoltaic inverter with a 24V thermostat, allowing for easy installation without the need for tools.
Graph with our cooling efficiency measurements - (here). More measurements our cooling fan for solar inverter from customers can be found in the links in the top menu of the website.
Supported Inverters:
Solax X3 Hybrid G4 5-15kW (datasheet)
Minimum required space under the inverter fin is 15 cm (13 cm in the case of step-by-step installation of the cooling leg/body, see video).
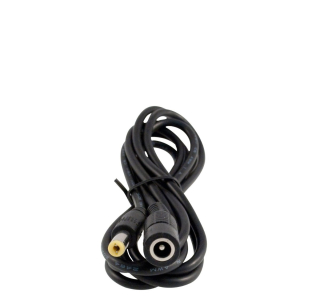
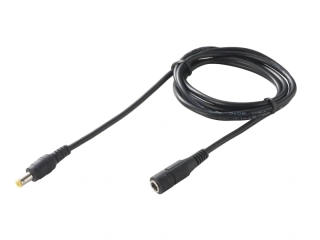
The package includes a high-quality 24V 1.2A power supply with a 2m cable. If needed, extensions of 1.5m or 4m can be purchased separately.
Power Supply: 24V DC (5.5*2.1), minimum 0.8A
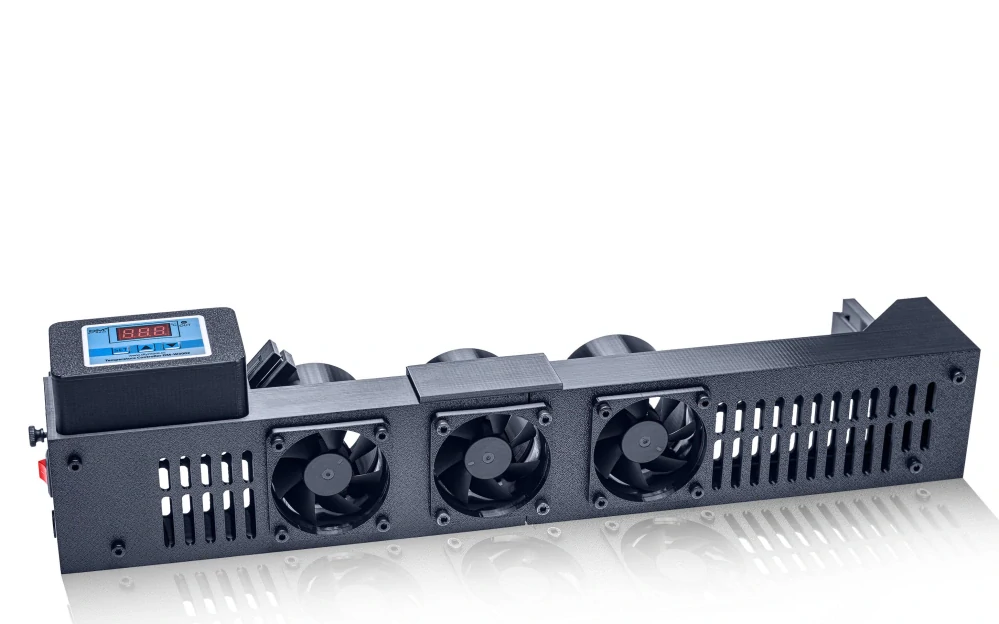
Active Cooling: 3 x Sunon 60mm fans, Vapo (MagLev), rated lifespan of 70,000 hours, noise level 31dBa, total airflow of 138m³/h
Power Consumption: Stand-by 0.5W, operating 7W
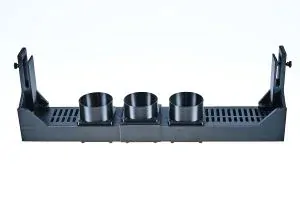
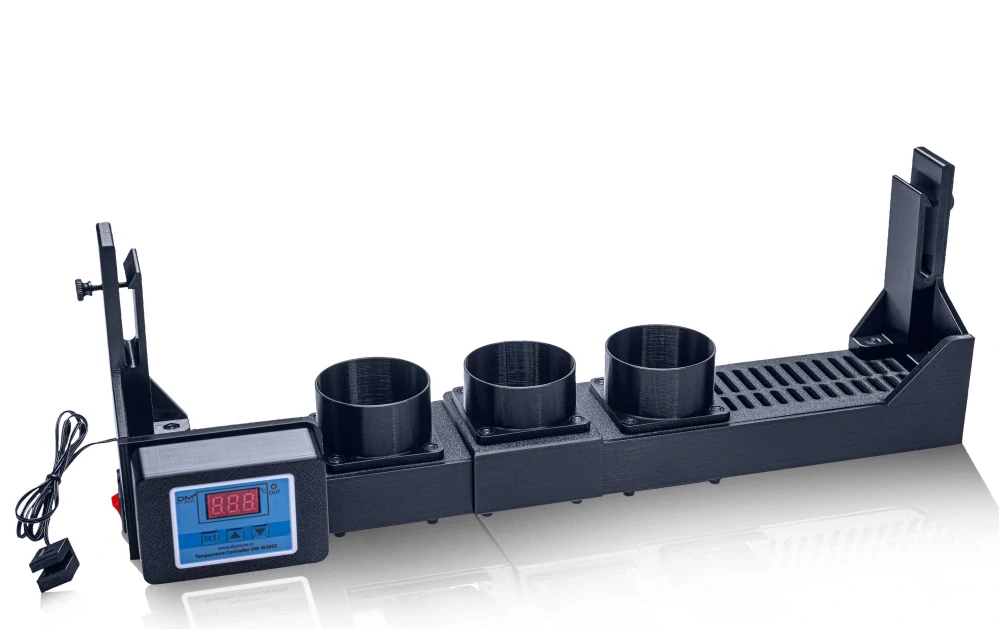
Material: Construction made using 3D printing
Function Description:
Active cooling brings air from the bottom direction. By using the cooling system, you can reduce the inverter temperature under load by 15-30 degrees (depending on installation conditions). This will prevent production limitations on hot days and simultaneously extend the lifespan of the photovoltaic inverter. The thermostat is set by default to turn on the cooling at 40°C and turn it off at 35°C, measured at the inverter fin where the sensor is installed.
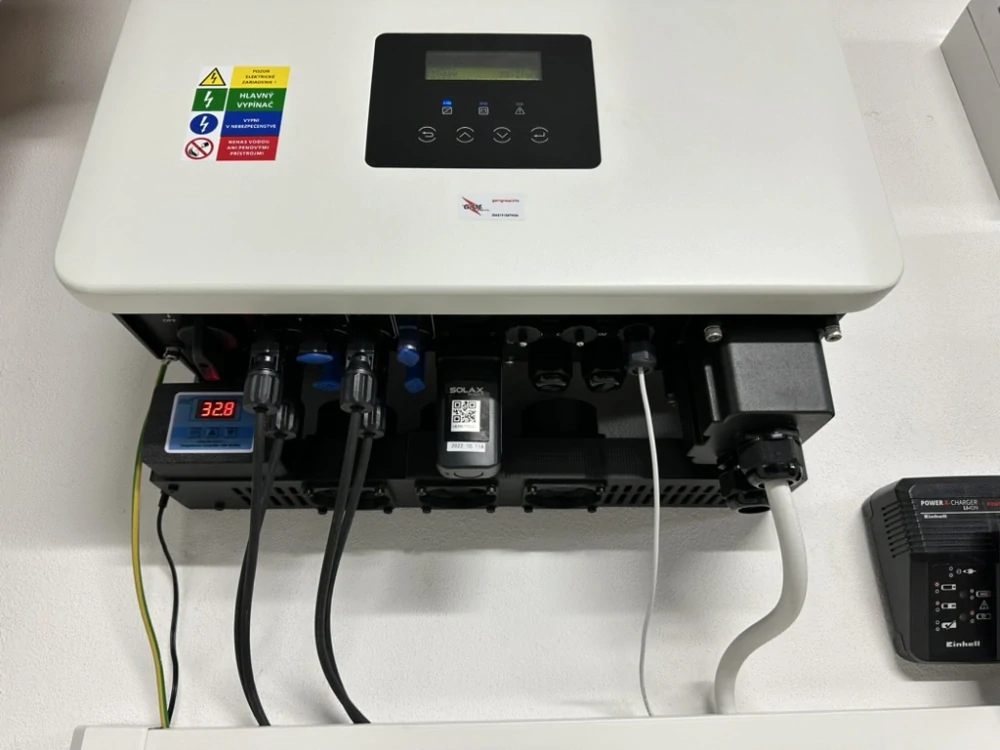
Installation:
The installation is done by sliding the cooler under the inverter and then snapping it onto the bottom ends of the fins. The sensor is threaded behind the inverter and placed on the fins in the left third, towards the middle. Insert the sensor at the rear and slide it forward until it fits securely. Do not place the sensor in the center of the inverter, as the temperature would be affected by the airflow. To remove, turn the side locking screws to the stop and slide the cooler off. Do not tighten the locking screws before installation.
Setting the Turn-On and Turn-Off Temperature:
See User Manual for adjustment instructions.
Customer Service